Design / The journal
A packaging brief that saves the second meeting
The most useful brief makes the physical job clear before anyone debates a typeface.
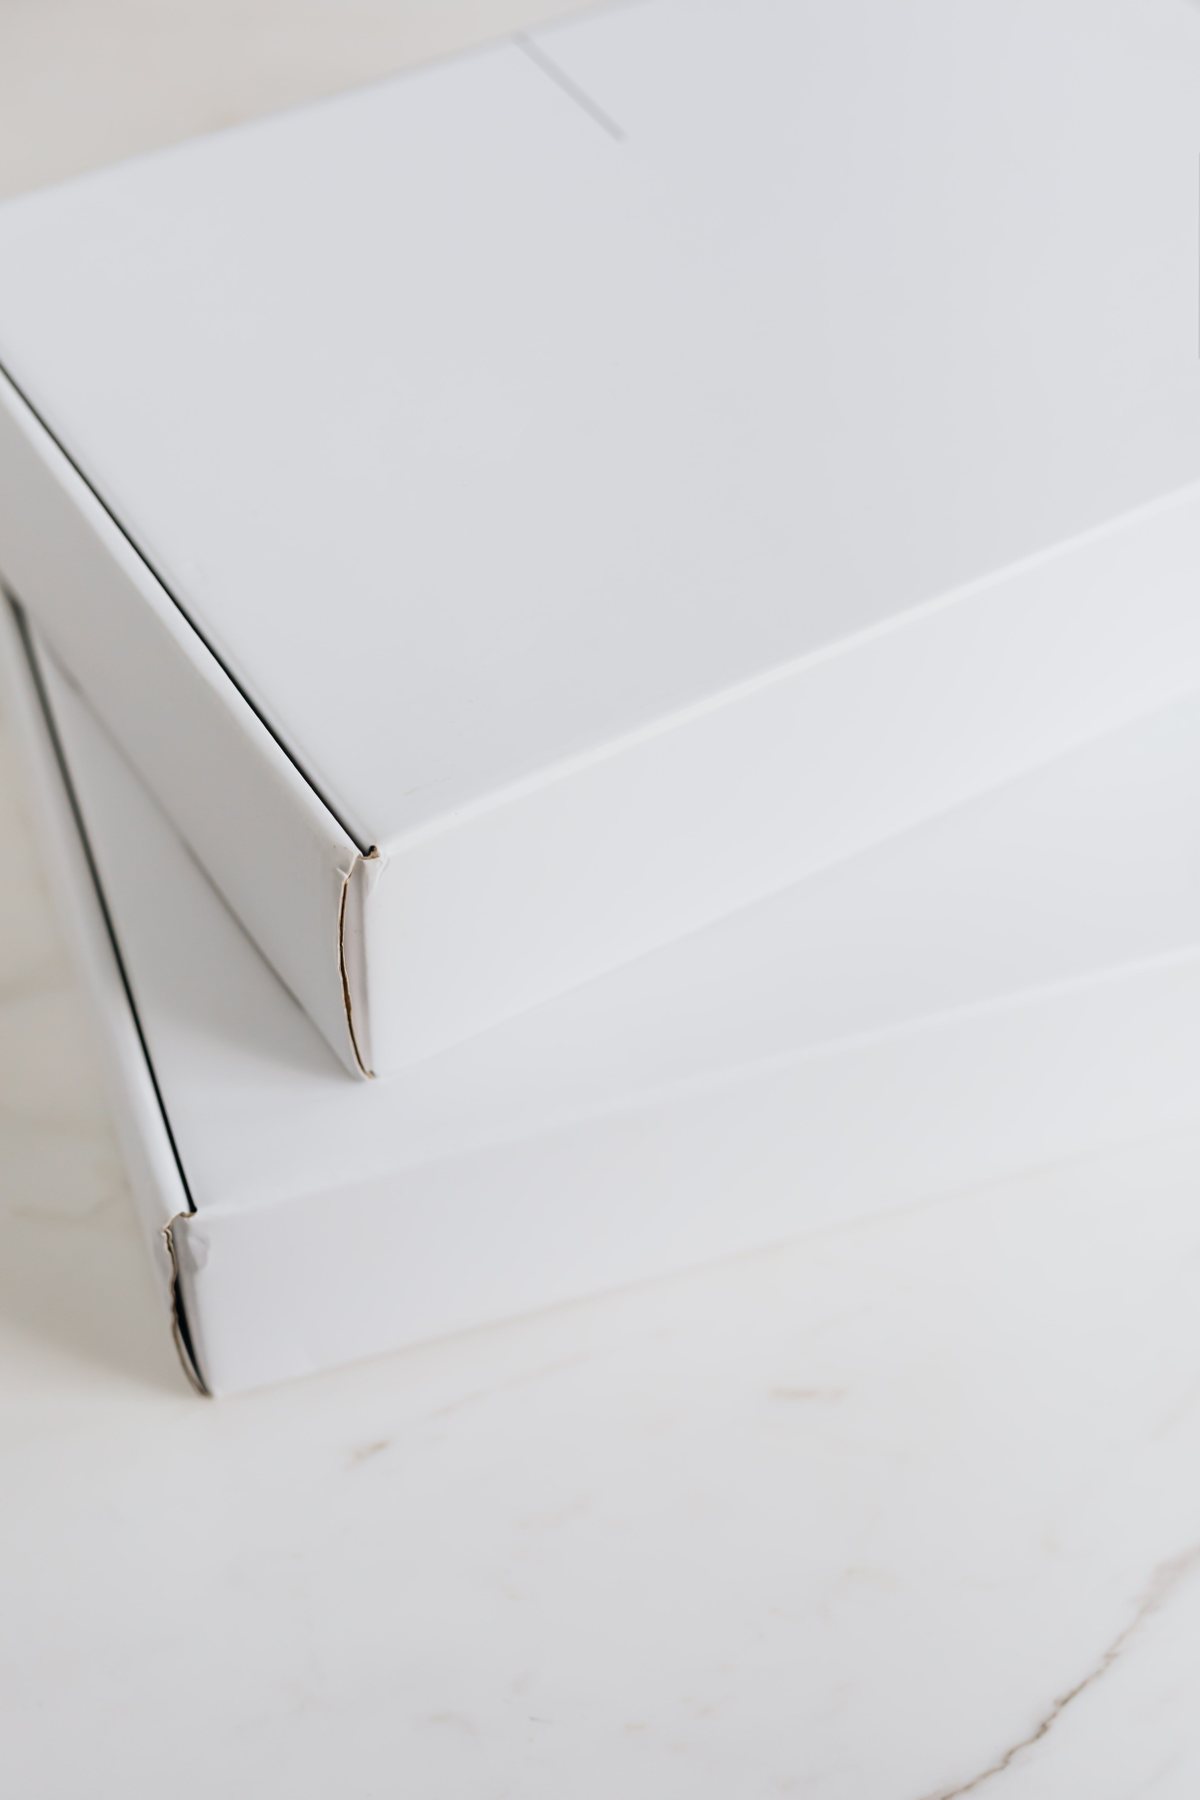
Describe the product as an object
A designer needs more than a product name and a mood board. Record dimensions, weight, orientation and the parts that must remain protected. Note whether the product arrives assembled, whether it leaks or scratches and whether customers need to see it before purchase. These details influence the structure long before the first visual direction.
Use a sample where possible. If you only have an early prototype, label the uncertain measurements. A precise-looking number that later changes is more disruptive than an openly provisional one. Explain who can approve the final dimensions and when that decision will happen.
Name the journey
Write a short sequence from packing to disposal or reuse. Is the item packed by hand, placed on a shelf, mailed alone or bundled with other products? Does it travel in an outer case? Will a warehouse add labels or a retailer apply a security tag? The front panel is only one part of that journey.
A small diagram can make the sequence easier to discuss. Mark where the customer first sees the package and where they first touch it. A design that works beautifully on a shelf might be disappointing when delivered inside a larger parcel with a shipping label across the brand name.
Separate essentials from preferences
Make one list of fixed requirements and another of design preferences. Fixed requirements could include an approved container, mandatory copy supplied by the business, a maximum packed size or an existing filling process. Preferences might include a quiet colour palette or a particular unboxing mood.
This separation gives the designer room to solve the problem. It also makes trade-offs visible. If a requested finish conflicts with the budget, the team can protect the essential function without treating every preference as a contractual requirement. Have the person responsible for product information supply and approve that text rather than asking the designer to invent it.
Define what success looks like
Avoid a brief that says only 'premium, sustainable and eye-catching'. Describe the behaviour you want instead. A customer should identify the flavour without picking up the pack. A warehouse worker should find the product code quickly. A gift recipient should open the box without searching for tools.
Choose a few priorities and put them in order. A package cannot optimise every cost, material, display and opening decision at once. An ordered brief turns disagreement into a useful question: which option best serves the most important job?
Make the handoff explicit
List the files and approvals needed at the end: perhaps a supplier-approved dieline, final artwork, a visual for the online shop and a physical sample. Name who checks each one. A rendered image is not the same deliverable as an approved production file, even if both show the same package.
Add a revision convention that everyone can understand. Use dates or numbered versions, and reserve a clear status for the approved file. If several people can send artwork to the printer, define one final sender. This small administrative decision can prevent expensive ambiguity.
Use the first meeting to resolve uncertainty
Bring the product, a representative shipping box, existing brand files and the required copy. Leave with an agreed structure for decisions, not just a list of visual references. Identify the two or three uncertainties that could change the whole design and resolve them first.
Our reading room includes a brief worksheet you can complete in your browser and print. Keep the first version short enough for everyone to read. A brief is useful because people use it throughout the project, not because it is long enough to look impressive.
Make it practical
Turn the next idea into a clear brief. Our browser worksheet helps you record the product, journey and handoff.
Open the reading roomKeep reading
A little more to unfold.
Design / Journal
Small type has a big job on packaging
Give the back panel the same care as the front. It is where a customer goes looking for answers.
Read the story ↗
Design / Journal
Photograph the package people will actually receive
A useful product gallery balances atmosphere with evidence: shape, scale, details and the real finish.
Read the story ↗Design / Journal
One range, twelve variants, no visual shouting
Build a family resemblance that helps customers choose, rather than making every pack look interchangeable.
Read the story ↗