Design / The journal
Photograph the package people will actually receive
A useful product gallery balances atmosphere with evidence: shape, scale, details and the real finish.
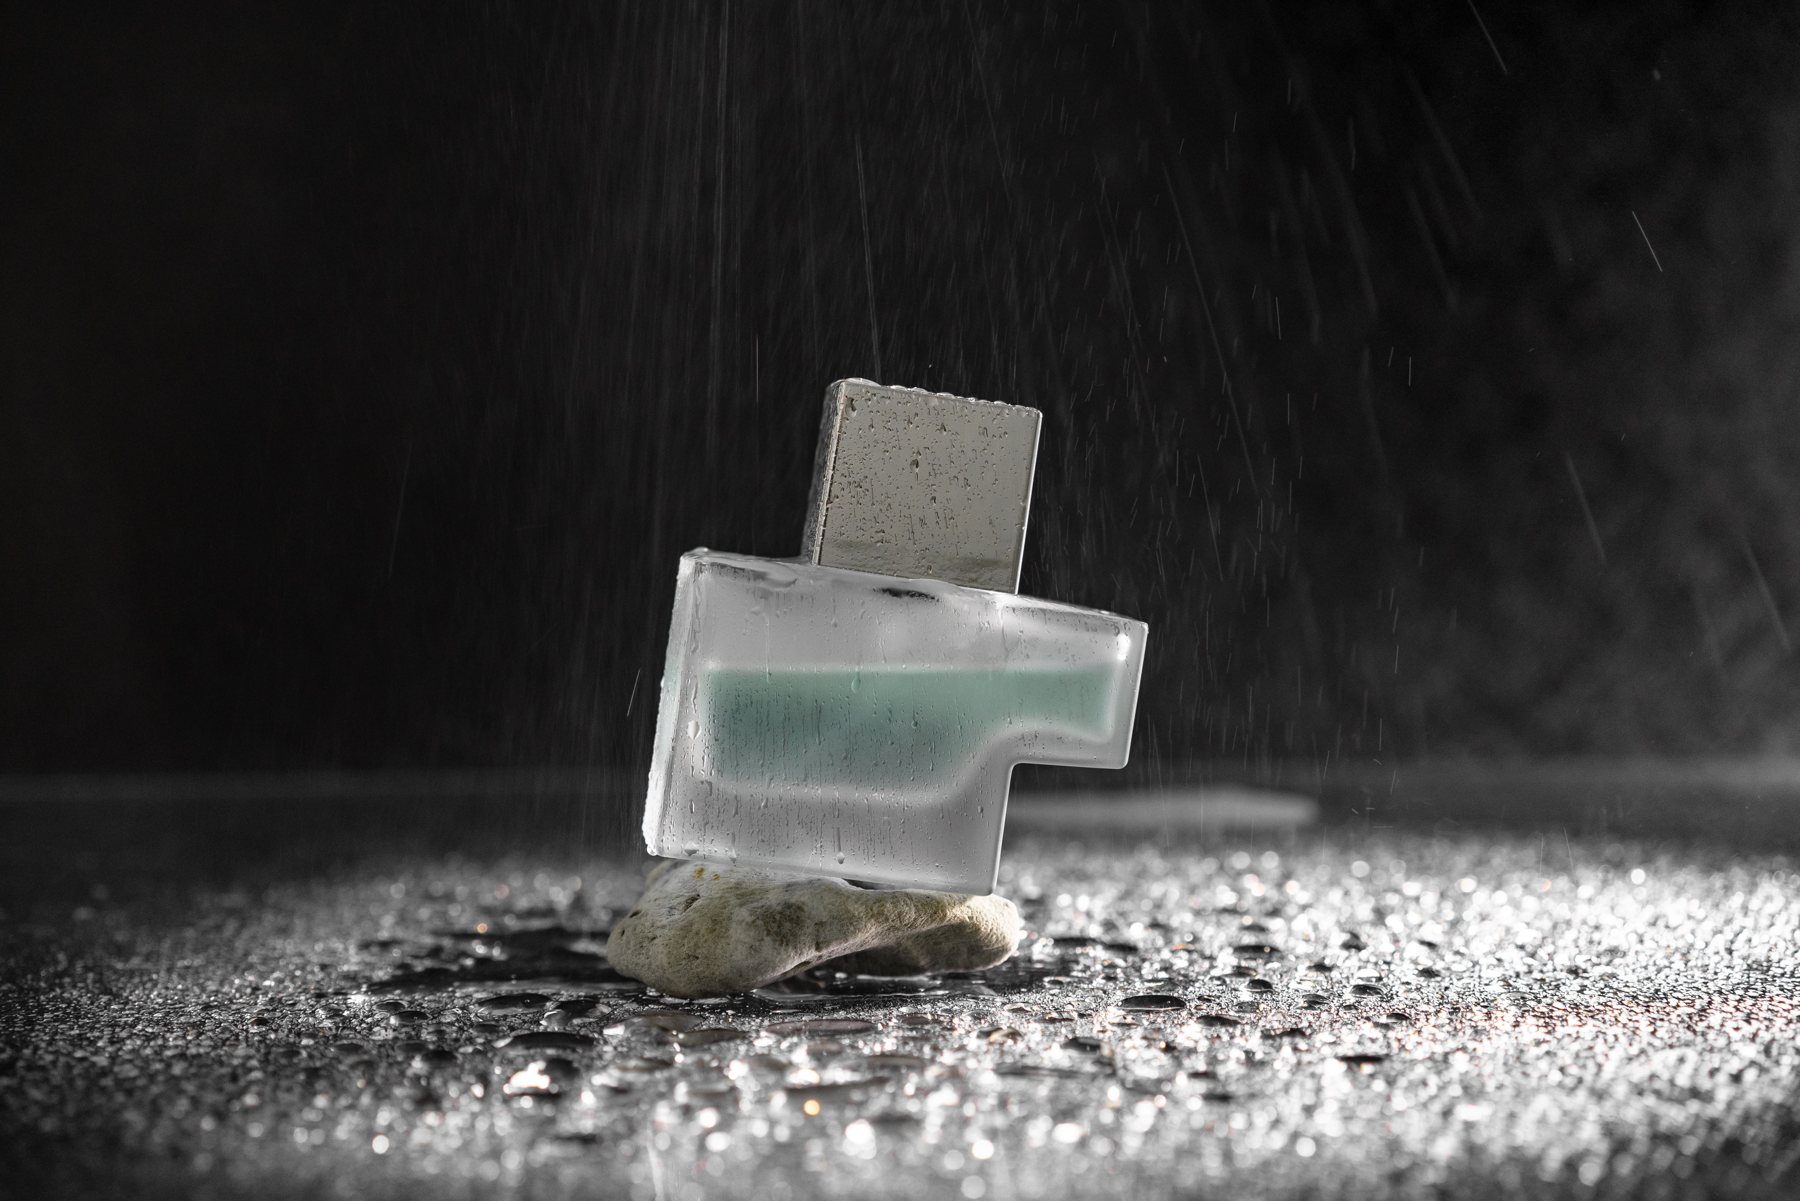
Choose the information each image supplies
Before arranging a scene, decide what the gallery needs to communicate. One image can establish the overall product. Another can show the opening, a side panel or the texture of the material. A scale reference may answer a question that a beautifully isolated packshot cannot.
Avoid taking six slightly different versions of the same front view. Each image should earn its place. Write a short shot list and check it against the questions customers ask before buying. This keeps the session focused even when the styling becomes enjoyable.
Prepare a representative sample
Use the approved production package when available. Check folds, labels, seams and closures before shooting. If the sample is an early prototype, do not let retouching quietly turn it into an implied final specification. Keep internal notes about which images need replacing when production arrives.
Clean the surface carefully and handle reflective materials with attention. Small dust marks become prominent in close-ups. Select a sample with normal manufacturing quality rather than building an impossible ideal through extensive editing. The image should help the buyer recognise the object that arrives.
Let one lighting idea lead
Start with a simple arrangement and move the light before adding more equipment. A broad light source can reveal shape gently; a more directional source can emphasise texture. Reflective packs may need careful positioning to keep the product name visible.
Look at the entire face of the pack. A bright highlight may be attractive while hiding the most important word. Make one reliable, readable image before exploring dramatic variations. The dramatic shot can lead a campaign, while the straightforward shot carries the basic information in the shop.
Include an honest scale cue
An isolated jar against a seamless background can be difficult to size. Use a hand, a familiar setting or a clearly stated measurement when appropriate. Do not use props that create confusion about what is included in the purchase.
A collection shot can explain the relationship between sizes, but label it clearly in the surrounding product page. If the image shows an optional accessory, make that distinction visible. Good photography and clear product copy work together; neither should have to correct a misleading impression created by the other.
Keep the range consistent
Choose a camera height, background approach and crop system that can be repeated when a new variant arrives. Save a reference image and a short setup note. Consistency helps shoppers compare products without mentally correcting for different angles and lighting.
Leave useful space around the pack for common crops. A composition that only works as a wide banner may fail in a square product grid. Review the image at thumbnail size before declaring the session complete. The product name and silhouette should still communicate something.
Deliver a small, useful set
Export appropriately sized files with descriptive names. Keep the high-quality originals in a separate archive and avoid repeatedly compressing the same JPEG. Add alt text that describes the product and relevant view rather than filling it with search phrases.
The final gallery should answer practical questions and create a mood. If it only does the second, the customer still has work to do. A strong package photograph makes the object easier to understand.
Make it practical
Turn the next idea into a clear brief. Our browser worksheet helps you record the product, journey and handoff.
Open the reading roomKeep reading
A little more to unfold.
Design / Journal
A packaging brief that saves the second meeting
The most useful brief makes the physical job clear before anyone debates a typeface.
Read the story ↗
Design / Journal
Small type has a big job on packaging
Give the back panel the same care as the front. It is where a customer goes looking for answers.
Read the story ↗Design / Journal
One range, twelve variants, no visual shouting
Build a family resemblance that helps customers choose, rather than making every pack look interchangeable.
Read the story ↗